No products in the cart.
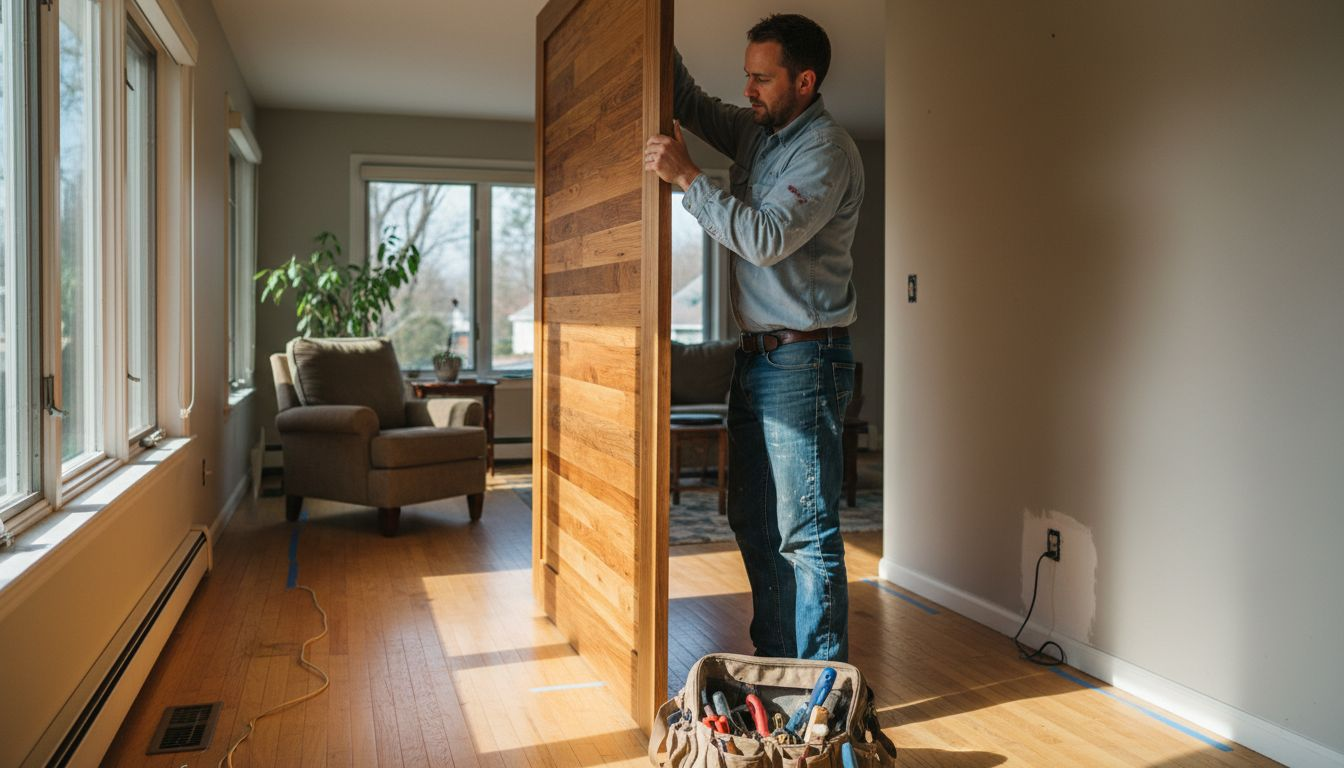
Installing a custom wooden sliding door transforms your Pennsylvania home’s aesthetic and security, but many homeowners face costly delays and poor fits due to overlooked preparation steps. Proper installation requires precise measurements, the right tools, and at least two skilled installers to handle heavy doors safely. This guide walks you through tools, measurements, installation steps, security integration, troubleshooting, timelines, and maintenance to ensure your investment delivers lasting beauty and protection.
Table of Contents
- Preparation And Prerequisites For Custom Sliding Door Installation
- Step-By-Step Installation Process
- Security Integration For Wooden Sliding Doors
- Common Mistakes And Troubleshooting
- Timeline And Cost Expectations
- Maintenance And Durability Tips For Wooden Sliding Doors
- Alternative Installation Techniques And Tradeoffs
- Explore Premium Custom Wooden Sliding Doors From Lumber Lovin’
Key takeaways
| Point | Details |
|---|---|
| Measurement precision | Accurate measurement within 1/8 inch tolerance prevents gaps and ensures smooth operation. |
| Installer requirements | At least two skilled installers are needed for safe handling and proper alignment of heavy wooden doors. |
| Security enhancement | Multi-point locking systems reduce break-ins by up to 50% when properly installed. |
| Weatherproofing impact | Professional-grade weatherproof sealant extends door lifespan by up to 15 years by preventing warping. |
| Installation duration | Typical installation takes 6 to 8 hours including hardware fitting with two skilled installers. |
Preparation and prerequisites for custom sliding door installation
Before you start installing your custom wooden sliding door, thorough preparation prevents expensive mistakes and ensures smooth execution. You need to gather the right tools, verify measurements, and assess site conditions carefully.
Start by measuring your door opening with a tape measure capable of 1/8 inch precision. Measure width at the top, middle, and bottom of the opening, then measure height at the left, center, and right positions. Use the smallest measurements to ensure your door fits properly without binding.
Check weather conditions before scheduling installation. Avoid days with high humidity or extreme temperatures, as wood expands and contracts with moisture and heat. Install during mild, dry weather to prevent immediate warping or fitting issues.
Gather these essential mechanical tools before starting:
- Power drill with appropriate bits for wood and metal
- 4-foot level for ensuring track alignment
- Screwdriver set including Phillips and flat head varieties
- Metal brackets rated for the door’s weight
- Heavy-duty rollers with low-friction bearings
- Professional-grade weatherproof sealant
- Measuring tape with 1/8 inch increments
- Safety equipment including gloves and eye protection
Enlist at least two skilled installers or professionals to handle the door safely. Custom wooden sliding doors often weigh 150 to 300 pounds, making solo installation dangerous and nearly impossible for proper alignment. Two people can manage the weight while maintaining precision during track mounting and hardware installation.
Inspect wall studs where you plan to anchor the sliding track. Use a stud finder to locate and mark stud positions, then verify they are structurally sound without rot or damage. Solid anchoring to studs is critical for supporting the door’s weight and ensuring smooth, safe operation for years. Consider reviewing sliding door maintenance practices to understand long-term care requirements before installation begins.

Step-by-step installation process
With preparation complete, you are ready to install your custom wooden sliding door following a systematic approach that ensures safety and precision at every stage.
Follow these numbered steps for successful installation:
- Position the sliding track along the wall at the desired height, typically 6 to 8 inches above the door opening. Use your 4-foot level to ensure the track is perfectly horizontal before marking mounting holes.
- Drill pilot holes into wall studs at marked positions. Secure the track using heavy-duty metal brackets and wood screws rated for the door’s weight. Verify the track is level again after partial installation, adjusting as needed before final tightening.
- Attach heavy-duty rollers to the top of the door according to manufacturer specifications. Position rollers evenly across the door width to distribute weight properly and prevent binding during operation.
- With your second installer ready, carefully lift the door and hang it on the mounted track. Guide the rollers into the track groove, ensuring smooth engagement without forcing. This step requires coordination and clear communication between installers.
- Install the floor guide at the bottom of the door to prevent swinging. Position it to allow the door to glide smoothly while maintaining alignment with the track above.
- Mount the multi-point locking system hardware according to security specifications detailed in the next section. Ensure locking points align perfectly with strike plates for smooth engagement.
- Test door movement across its full range of motion. The door should glide smoothly without sticking or excessive effort. Adjust roller height if needed to achieve optimal clearance and alignment.
- Apply weatherproof sealant to all door edges, focusing on the top and bottom where water exposure is greatest. Work the sealant into joints thoroughly for complete protection.
Pro Tip: Mark the floor guide position with painter’s tape before drilling to ensure perfect alignment. You can slide the door back and forth several times to verify the guide placement prevents swinging without creating friction.
For additional guidance on achieving professional results, explore our installation tips blog featuring real-world examples. If you are installing a classic farmhouse door, pay extra attention to preserving the decorative hardware finish during mounting.
Security integration for wooden sliding doors
Beautiful custom wooden doors deserve security features that protect your home without compromising their visual appeal. You can integrate robust security during installation using proven methods that enhance both safety and functionality.
Anchor your sliding door track and mounting brackets directly to wall studs using heavy-duty screws. Surface mounting to drywall alone creates a weak point that reduces both operational stability and security. Proper stud anchoring ensures the entire door system resists forced entry attempts effectively.
Select and install a high-quality multi-point locking system designed for sliding doors. These systems engage the door at multiple points along the frame, making forced entry exponentially more difficult. Research shows multi-point locking systems reduce break-ins by up to 50% compared to single-point locks, providing substantial protection for your investment.
Reinforce frame components with discreet steel inserts that strengthen vulnerable areas without visible hardware. Position steel plates behind decorative elements or within the door frame itself to maintain the handcrafted aesthetic while adding structural resistance. This approach balances security needs with the door’s artisan character.
Verify that locking mechanisms engage smoothly with strike plates and frame hardware. Test the lock in both locked and unlocked positions multiple times to confirm reliable operation. Stiff or binding locks indicate misalignment that compromises both security and convenience.
Pro Tip: Install security features during initial mounting rather than adding them later. Retrofitting security hardware often requires dismounting the door and remeasuring, doubling your labor time and creating new alignment challenges.
If you are considering the British Brace door, take advantage of its robust construction by pairing it with commercial-grade locking hardware that matches its strength. The door’s traditional bracing pattern naturally reinforces areas where security hardware mounts, creating integrated protection.
Common mistakes and troubleshooting
Even with careful planning, installation challenges arise that require quick identification and correction. Knowing the most frequent errors helps you avoid frustration and expensive rework.
Watch for these common mistakes and their solutions:
- Misaligned tracks causing door jamming or uneven movement. Fix this by checking the track’s level at multiple points along its length, not just the ends. Loosen mounting screws, adjust the track using shims if necessary, and retighten while verifying level readings.
- Insufficient hardware tightening resulting in door wobble or instability. Ensure every screw anchors into solid wood studs, not just drywall. Use appropriate screw lengths that penetrate studs by at least 1.5 inches for secure mounting.
- Skipping weatherproof sealing immediately after installation, leading to wood expansion and warping within weeks. Apply professional-grade sealant to all exposed edges before the door experiences weather exposure or indoor humidity changes.
- Attempting installation with only one person, which increases injury risk and virtually guarantees alignment problems. Heavy wooden doors require coordinated lifting and positioning that one person cannot safely manage. Always schedule installation when two skilled helpers are available.
- Failing to test door operation across its full range before completing installation. Slide the door completely open and closed at least 10 times, checking for binding, unusual sounds, or resistance that indicates roller or track problems.
- Installing rollers unevenly across the door width, creating unbalanced weight distribution that accelerates wear. Measure roller positions from the door edges to ensure symmetrical placement.
Regularly inspect rollers and locking hardware during the first week after installation. New doors may settle slightly as wood adjusts to your home’s humidity levels, requiring minor roller height adjustments. For comprehensive troubleshooting strategies beyond installation day, visit our door installation troubleshooting tips for ongoing support.
Timeline and cost expectations
Understanding the time commitment and financial investment for custom wooden sliding door installation helps you plan effectively and avoid surprises during your project.
Average installation requires 6 to 8 hours when completed by two skilled installers under normal conditions. This timeline includes track mounting, door hanging, hardware installation, security system integration, and weatherproofing. Larger doors exceeding 8 feet in height or width may extend installation time by 2 to 3 hours due to increased weight and complexity.

| Cost Category | Typical Range | Notes |
|---|---|---|
| Custom wooden door | $1,200 to $3,500 | Varies by size, wood species, and design complexity |
| Installation labor | $400 to $800 | Based on 6-8 hours at $50-$100 per hour for two installers |
| Multi-point locking system | $150 to $400 | Higher quality systems provide better security and longevity |
| Heavy-duty roller hardware | $80 to $200 | Low-friction bearings reduce maintenance needs |
| Weatherproof sealant and materials | $40 to $100 | Professional-grade products essential for lasting protection |
| Total estimated investment | $1,870 to $5,000 | Complete project including door, labor, and materials |
Budget for high-quality components rather than economy alternatives. A multi-point locking system costing $300 delivers substantially better security and smoother operation than a $100 basic lock. Similarly, professional weatherproof sealant at $60 protects your door for 15 years, while bargain products may fail within 3 years, requiring reapplication and risking wood damage.
Plan your installation for days with mild weather between 50°F and 75°F with low humidity. Extreme temperatures or wet conditions delay installation and potentially damage wood before proper sealing. Spring and fall typically offer ideal conditions in Pennsylvania, while summer humidity and winter cold present challenges.
Schedule your installation at least two weeks in advance to secure skilled installers during optimal weather windows. Last-minute scheduling often forces you to work during poor conditions or accept less experienced help, both of which increase error rates and total costs.
Maintenance and durability tips for wooden sliding doors
Your custom wooden sliding door represents a significant investment that rewards proper care with decades of beauty and reliable performance. Regular maintenance prevents costly repairs and preserves both appearance and security features.
Implement these essential maintenance practices:
- Apply weatherproof sealant to all door edges immediately after installation and reapply annually. Focus on the top and bottom edges where water accumulation occurs most frequently. Professional-grade sealants prevent warping and extend door lifespan by up to 15 years.
- Clean and lubricate rollers every six months using silicone-based lubricant designed for sliding door hardware. Heavy-duty rollers with low-friction bearings reduce maintenance frequency by 30% compared to standard rollers, but still benefit from periodic cleaning to remove dust and debris.
- Inspect the track monthly for dirt, leaves, or debris that impede smooth operation. Vacuum the track channel and wipe with a damp cloth to maintain optimal sliding performance. Small obstructions cause uneven wear on rollers and increase operational friction.
- Check multi-point locking mechanisms quarterly to ensure smooth engagement at all locking points. Apply graphite lubricant to lock cylinders and moving parts, avoiding oil-based products that attract dust and create sticky buildup.
- Avoid exposing your door to standing water or prolonged moisture contact. If water pools near the door threshold, improve drainage or add weather stripping to redirect water away from wood surfaces.
- Touch up finish damage promptly when you notice scratches or worn areas. Small repairs prevent moisture penetration that leads to larger problems. Keep extra stain or finish that matches your door for quick touch-ups.
Re-seal door edges annually or whenever you notice water beading has diminished. The sealant forms an invisible moisture barrier that protects wood fibers from expansion and contraction cycles that cause warping. Apply sealant on dry days when temperatures stay above 50°F for proper curing.
Store maintenance supplies including sealant, lubricant, and touch-up finish in a dedicated location for easy access. Regular upkeep takes less than 30 minutes quarterly but prevents deterioration that requires expensive professional restoration.
Alternative installation techniques and tradeoffs
Custom wooden sliding doors can use either top-hung or floor-hung mounting systems, each offering distinct advantages and limitations that affect durability, cost, and installation complexity.
Top-hung systems suspend the door from an overhead track, eliminating floor track components entirely. This configuration reduces floor track wear and extends overall door lifespan by approximately 30% since rollers operate in a protected overhead environment. However, top-hung installation requires strong structural support capable of bearing the door’s full weight plus operational forces. You must verify ceiling joists or header beams can handle sustained loads before selecting this approach.
Floor-hung systems mount the track at floor level with the door riding on bottom-mounted rollers. This traditional approach installs more simply and costs 15% to 25% less than top-hung systems due to simpler hardware and reduced structural requirements. Floor tracks experience greater wear from foot traffic, debris, and moisture exposure, potentially shortening system longevity compared to top-hung alternatives.
| Feature | Top-Hung System | Floor-Hung System |
|---|---|---|
| Installation complexity | Higher; requires structural assessment | Lower; standard mounting process |
| Cost | $200-$400 more for hardware | Baseline cost |
| Durability | 30% longer lifespan | Standard lifespan with proper maintenance |
| Floor clearance | Clean floor with no track | Visible floor track |
| Structural requirements | Strong overhead support mandatory | Standard wall studs sufficient |
| Maintenance frequency | Lower; protected from debris | Higher; regular track cleaning needed |
| Best applications | New construction, renovations with structural access | Retrofit projects, budget-conscious installations |
Your choice depends primarily on your home’s structural capacity and budget constraints. Top-hung systems suit homeowners prioritizing durability and willing to invest in structural reinforcement if needed. The clean floor appearance and reduced maintenance make top-hung ideal for high-traffic areas or homes with pets and children.
Floor-hung systems work well for retrofit projects where accessing overhead structure proves difficult or expensive. If you maintain the floor track regularly and protect it from moisture, floor-hung doors deliver reliable service at lower initial cost.
Consult a structural engineer if you are considering top-hung installation in an older home where overhead support capacity is uncertain. The modest engineering consultation cost prevents catastrophic failures from inadequate structural support.
Explore premium custom wooden sliding doors from Lumber Lovin’
Now that you understand proper installation techniques, discover the exceptional quality and craftsmanship waiting in our curated collection of custom wooden sliding doors.
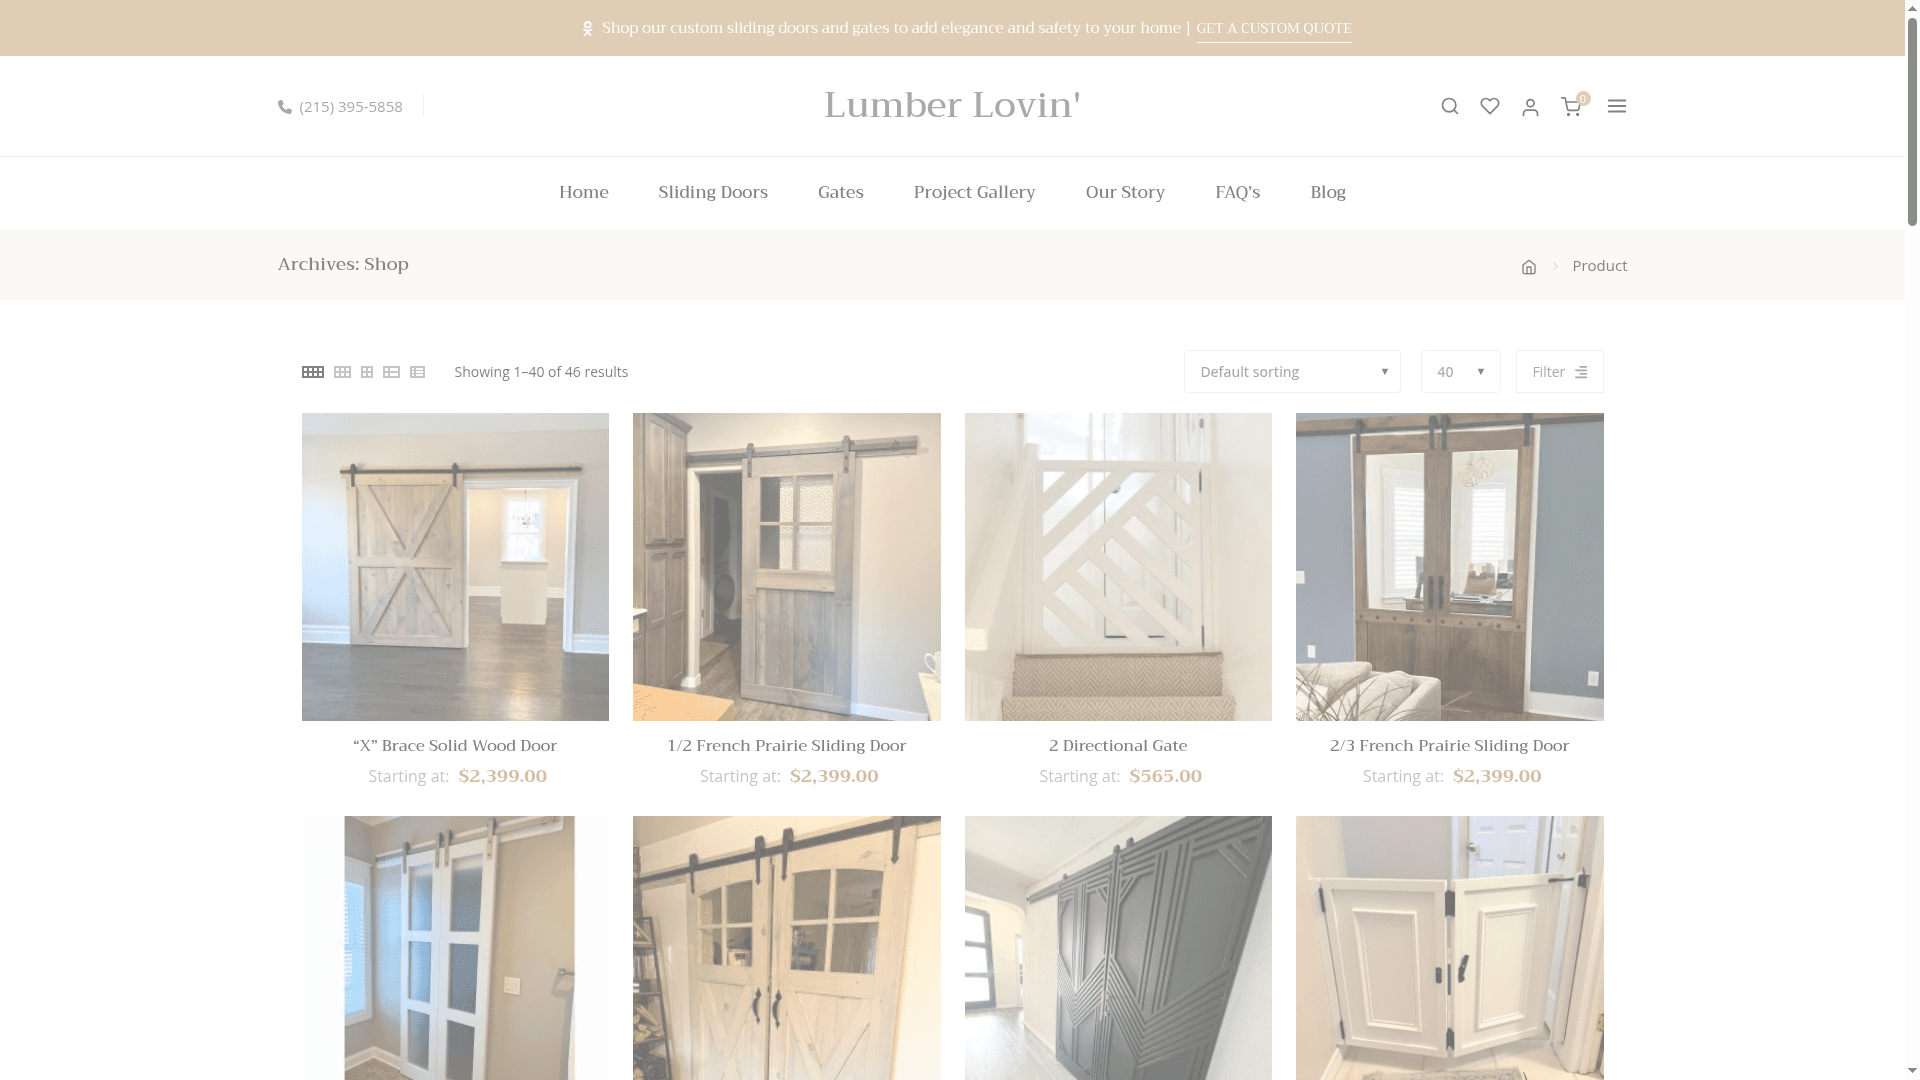
Lumber Lovin’ specializes in handcrafted wooden sliding doors that combine stunning aesthetics with functional security. Each door showcases American-made craftsmanship designed to enhance your Pennsylvania home’s architectural character while providing reliable protection.
Explore our signature designs including the contemporary Sleek Single Lite Sliding Door featuring clean lines and glass panels that maximize natural light. Traditional homes benefit from the British Brace Solid Wood Door with its distinctive diagonal bracing pattern and robust construction. For timeless farmhouse appeal, the Classic Farmhouse Solid Wood Door delivers authentic character with modern engineering.
Every door comes with premium hardware options including the multi-point locking systems and heavy-duty rollers recommended throughout this guide. Our customer support team assists with custom installation planning, answering technical questions about your specific project requirements. Transform your home with doors built to last generations.
FAQ
What tools are essential for custom wooden sliding door installation?
You need a power drill, 4-foot level, measuring tape with 1/8 inch precision, screwdriver set, metal brackets, heavy-duty rollers, and weatherproof sealant. Two skilled installers or professionals are essential for safely handling heavy doors and ensuring proper alignment during mounting.
How long does the installation typically take for a custom wooden sliding door?
Installation generally requires 6 to 8 hours with two skilled installers under standard conditions. Complex doors exceeding 8 feet in size or installations requiring structural modifications may extend the timeline by 2 to 3 additional hours.
Can I install a heavy wooden sliding door by myself?
Heavy wooden sliding doors require at least two skilled installers to ensure safe handling and correct alignment throughout the process. Solo installation creates serious injury risks and virtually guarantees improper fit, leading to operational problems and costly corrections.
What security features should I include for my sliding door?
Install multi-point locking systems firmly anchored to wall studs for maximum protection. Consider reinforcing frame components with steel inserts that maintain the door’s aesthetic while adding structural resistance. Proper security hardware integration reduces break-in risks substantially compared to basic single-point locks.
Recommended
- Classic Farmhouse Solid Wood Door for Rustic Charm
- Fresno Mid Century Sliding Door for Timeless Style
- British Brace Solid Wood Door for Elegant Interiors
- Blog – Lumber Lovin’
- 7 Essential Door Installation Tips for Massachusetts Homeowners | Sabatalo Contracting
- How to Build Custom Joinery for Home Renovations